
One very popular item all over “teachergram” is the teacher toolbox. It’s a basic toolbox you can buy on Amazon that teachers customize to reflect their personalities and fill with all their essentials. It was one of the first items I added to my Amazon Wishlist and I was so excited when my friend Taylor bought it for me! Read on to see how I upgraded my teacher toolbox to fit perfectly with my classroom theme.
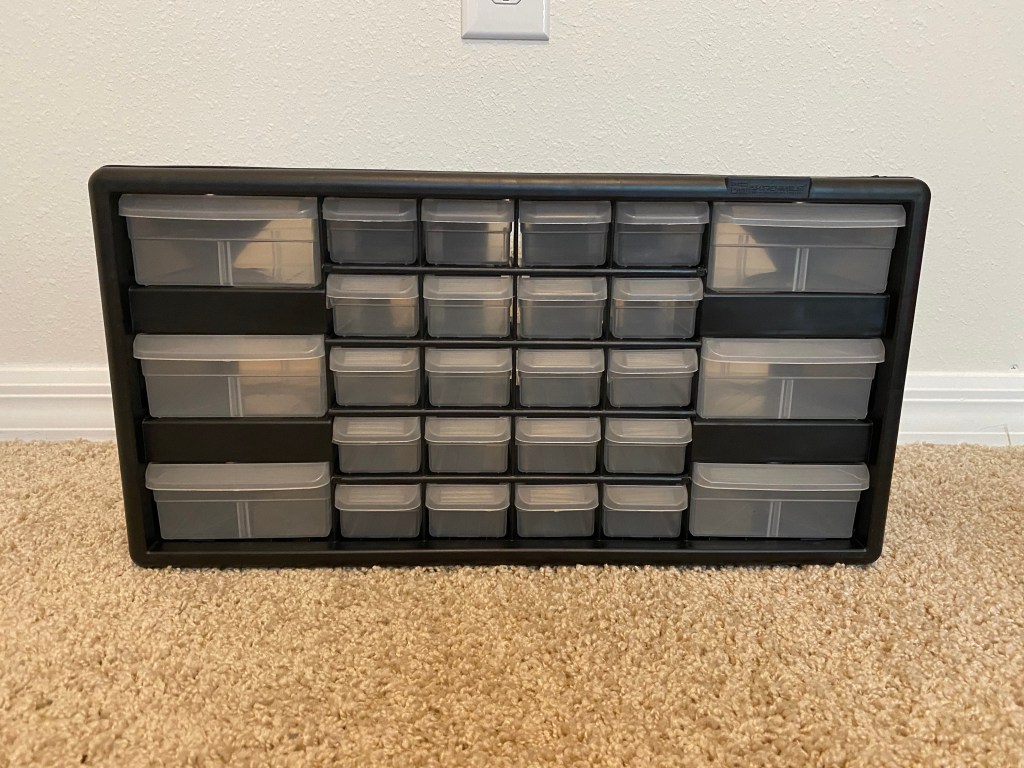
The toolbox above is the one I got from Amazon. Here are a few options of different sizes and styles: large toolbox, all larger drawers, smaller 12-drawer toolbox. I wanted a good mix of small and large drawers and this toolbox was a good size too. It’s 20 in. wide, 10.25 in. tall, and about 6.5 in. deep.
My classroom decor this year is teal, coral, navy, and gray so I decided to paint my toolbox frame navy. This way, if I change my classroom colors, navy will be easy to cover up and can also match multiple color schemes since it’s neutral.
I got Rust-oleum Painter’s Touch Ultra Cover Paint + Primer, but really any spray paint will work. You can choose to use gloss, matte, or even metallic finishes! I just chose a gloss paint. No need to sand your toolbox first or strip the surface at all. You can just start spraying!

I took the drawers out of the toolbox, which was super easy. Then, I broke down some big Amazon boxes, laid them out in my yard, and started spraying. The key is to do thin layers and not just hold the nozzle down and move your hand back and forth. This is so it doesn’t get drippy, because if it starts dripping, it will show when it dries. It took me a few days of doing one light layer each day to get the perfect amount of coverage.

When it came to filling my toolbox with supplies, I just brought it into my room empty and filled it up with supplies as I got my classroom ready. I would find things I might need close by and add them to the toolbox. I also looked up teacher toolboxes on Pinterest and teacher toolbox labels on Teachers Pay Teachers to get ideas of what other teachers put in their toolboxes.

I searched Teachers Pay Teachers to find labels for my toolbox drawers. There are so many different styles. Like I mentioned before, my theme is teal, coral, navy, and gray so these floral labels from Lindsey Goff Viducich were perfect and only $3.
I purchased them and downloaded the file on my computer. Once downloaded, I was able to edit the labels to fit the supplies I put in my toolbox. She also has some premade with the supplies already written on them. I printed the labels on regular copy paper and laminated them with my Scotch laminator. When laminating smaller pieces you don’t want to move around while going through the laminator, use a clear glue stick or double sided tape to keep it in place. Works like a charm!
Once they were laminated I used my double sided tape to attach them to the front of the drawers. If you attach them inside it’s too cloudy to see very well and they fit better on the outside too.

I was so thrilled with the final product! It’s so useful to have my essential supplies all in one place right behind my desk whenever I need them.
